General
To install a site licence you need to sit at a computer which has access to a shared folder, which all the users will be able to access. That shared folder should not be local to the computer you're sitting at. Let's call the computer you are sitting at "PC", and the shared folder "\\:server.domain\share\" for the example below. You will need to know name to access that drive or a drive letter if mapped and available.
Example
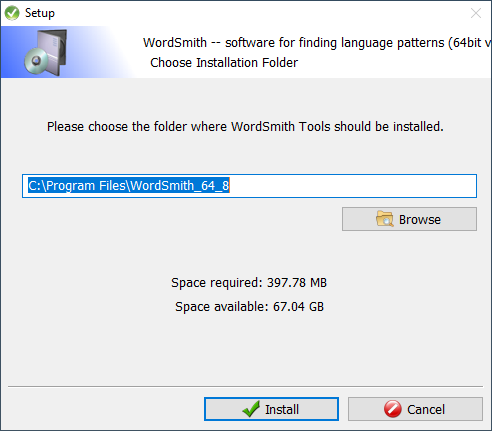
1. Install WordSmith but not at "PC" (
C:\Program Files (x86)\wsmith8); instead install at \\:server.domain\share\wsmith8 (where \\:server.domain\share is your networked drive). Use the share name (best) or a drive letter if it's mapped and available.
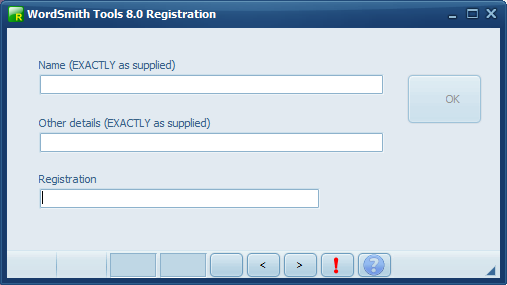
2. After the installation finishes, allow it to launch WordSmith. WordSmith (running from \\:server.domain\share\wsmith8) will then ask for your registration.
3. If 64bit version, skip to next item. 32bit version:
At \\:server.domain\share\wsmith8 you will find wordsmith8.ini. Ensure it is edited like this, so that the
# symbol is removed and a suitable folder name is supplied. Use Notepad to do the editing. A suitable choice might look like this:
The letter (F: in this example) must refer to a drive or share which you know your users will be sure to have access to, and have the right to save files there.
(IF the [NETWORK] section is missing please insert it:
[NETWORK]
#network-read/write folder=
# Remove # in line above if running on network
# and change directory to one that users can write to
#instructions folder=c:\ws_instructions
# Remove # in line above if running on network and
# you want to be able to set instructions for a class to follow
# -- these instructions must be in a file called teacher.rtf
# in the instructions folder
)
4. Quit WordSmith and re-start it (still sitting at PC). You should now see it running normally and not complaining that it's in demo mode.