Advanced Settings

Contents
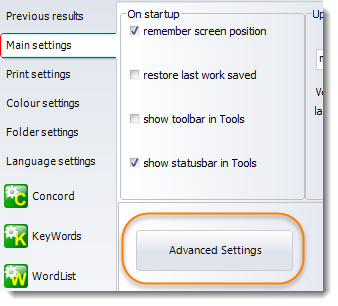
These are reached by clicking the Advanced Settings button visible in the Main settings page:
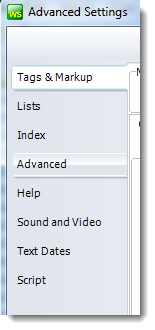
and open up a whole new set of options
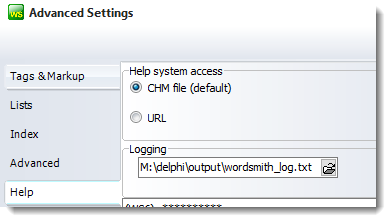
Help system access On a network, it is commonly the case that Microsoft protects users to such an extent that the usual .CHM help files show only their table of contents but no details. Here you can set the WordSmith help to access the local CHM file or the online Help at the WordSmith URL.
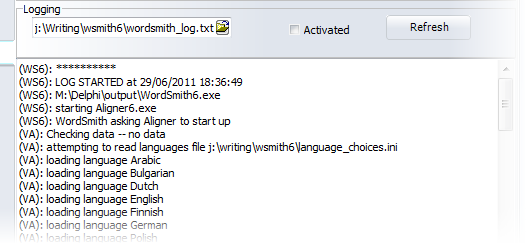
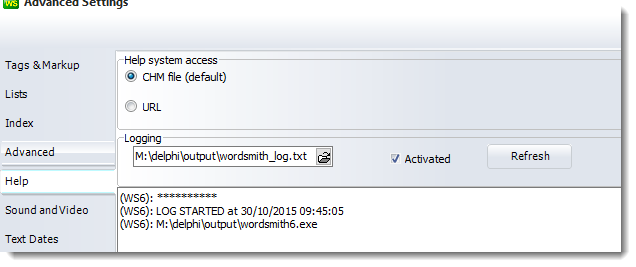
Logging is useful if you are getting strange results and wish to see details of how they were obtained. If this is enabled, WordSmith will save some idea of how your results are progressing in the log-file, which you see in the Advanced Settings | Help | Logging section in the Controller. Here you can optionally switch on or off logging and choose an appropriate file-name. If you switch it on at any time you will get a chance to clear the previous log-file. This log shows WordSmith working with the Aligner, at the stage where various languages are being loaded up.
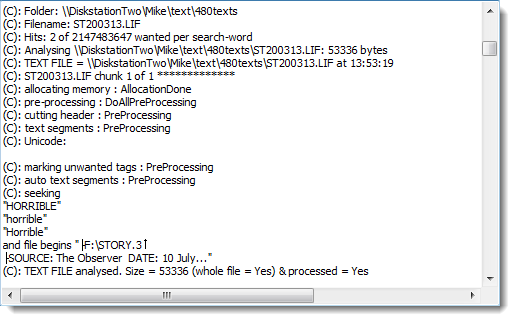
And here in a Concord process we see some details of the text files being read and processed, seeking the search-word horrible:
The most straightforward way to use logging is 1. Find logging in the Help tab of Advanced settings.
2. Click the Activated box. You'll be asked whether you want any previous log cleared. 3. Carry on using WordSmith as desired, changing settings or using Concord or any other tool. From time to time or after WordSmith finishes, press the Refresh button visible above and read the output. It is a text file so it can be opened using any word processing software. If you have had trouble, looking at the last few lines may help by showing where processing stopped.
If you want to log as WordSmith starts up, start in from the command line with the parameter /log: Start | Run | Cmd <Enter> | cd\wsmith7 <Enter> | wordsmith7 /log <Enter> (or wordsmith7 /log C:\temp\WSLog.txt to force use of C:\temp\WSLog.txt. If you do that, make sure the folder exists first.)
See also: emailed error reports. |
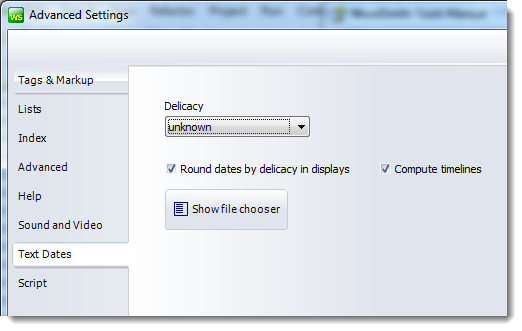
Text dates can be set to varying levels of delicacy, depending on the range of text file dates chosen.
See also: using text dates |
![]() Advanced section (menus, clipboard, deadkeys etc.)
Advanced section (menus, clipboard, deadkeys etc.)
Restore
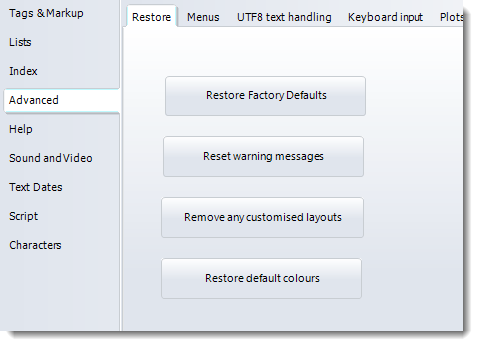
These buttons let your restore WordSmith to a previous state. Here you may press a button to restore all factory defaults, useful if your settings are giving trouble.
You can re-assign new shortcuts (such as Alt+F3, Ctrl+O) to the menu items which are used in the various Tools.
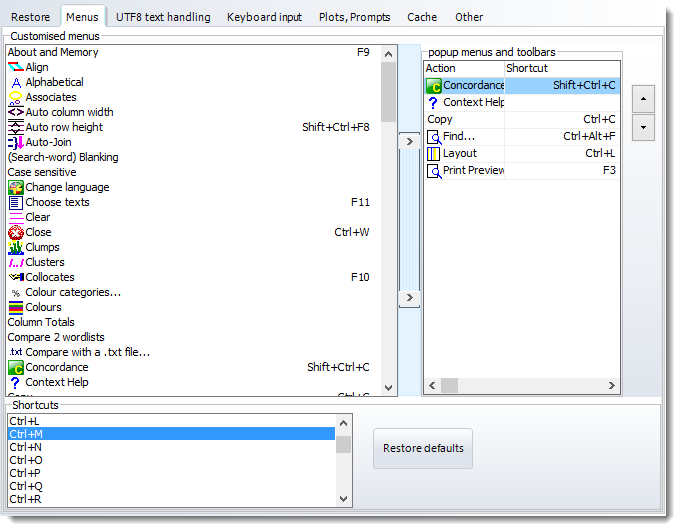
And all grids of data have a "popup menu" which appears when you click the right button of your mouse. To customise this, in the main WordSmith Controller program, choose Main Settings | Advanced | Menus.
You will see a list of menu options at the left, and can add to (or remove from) the list on the right by selecting one on the left and pressing the buttons in the middle, or by dragging it to the right. To re-order the choices, press the up or down arrow. In the screenshot I've added "Concordance" as I usually want to generate concordances from word-lists and key word lists.
Whatever is in your popup menu will also appear in the Toolbar.
Below, you see a list of Shortcuts, with Ctrl+M selected. To change a shortcut, drag it up to the Customised menu list or the popup menus and toolbars list.
UTF8 text handling
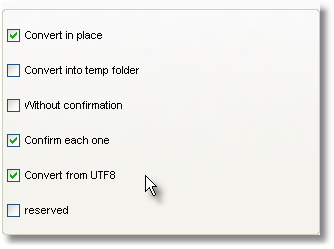
If your text files happen to contain UTF-8 text files, WordSmith will notice and may offer to convert them on the spot using the options below.
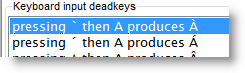
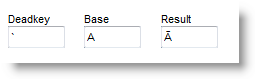
Keyboard input Deadkeys are used to help type accented characters with some keyboards. The language input tab lets you alter the deadkeys to suit your keyboard and if necessary force WordSmith to use the keyboard layout of your choice whenever WordSmith starts up. Here the user's Windows has two keyboard layouts installed. To type in Maori, you might choose to select Maori, and change a couple of deadkeys. At present, as the list shows, pressing ` then A gives À, but users of Maori usually prefer that combination to give Ā. To change these settings, 1. select the line 2. edit the box below:
then press Change. When you've changed all the characters you want, press Save. If you want WordSmith to force the keyboard to Maori too every time it starts (this will probably be necessary if it is not a New Zealand computer) then check the always use selected keyboard box.
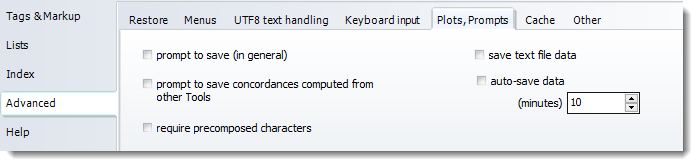
Prompts
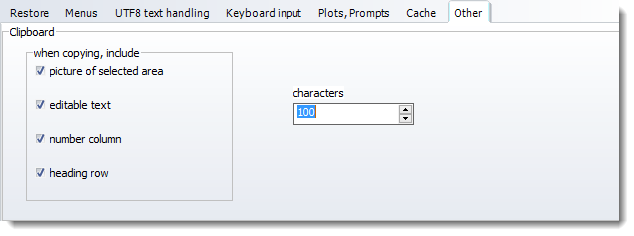
prompt to save (in general): reminds you to save every time new data results are computed or re-organised. prompt to save concordances computed from other Tools: (default=false) prompt after WordList or KeyWords or WSConcGram gets a concordance computed. auto-save data as its name suggests saves your .lst, ..cnc or .kws file every so often if checked. require precomposed characters: some languages have a lot of cases where two characters get merged in the display into one, e.g. e with ` appearing as è. WordSmith will automatically check for such pairs when processing languages such as Amharic, Arabic, Bengali, Farsi, Gujarati, Hindi, Kannada, Khmer, Lao, Malayalam, Nepali, Oriya, Thai, Tibetan, Telegu, Tamil, Yoruba. If you want to force WordSmith to carry out a test for such pairs when processing all languages, however, check this box. save text file data: if checked, a list of the text files which contain and did not contain your search words will be generated when you make a concordance. See Concord's show file data. Here you may choose defaults for copying.
The number of characters only applies when copying as editable text. See also: clipboard
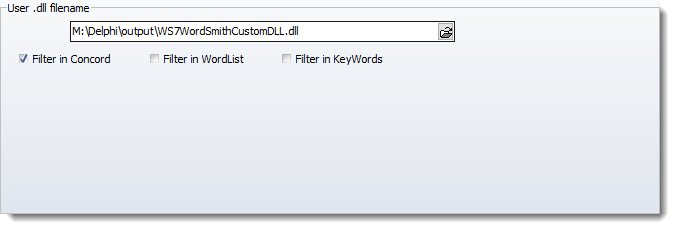
User .dll
If you have a DLL which you want to use to intercept WordSmith's results, you can choose it here. The one this user is choosing, WordSmithCustomDLL.dll, is supplied with your installation and can be used when you wish. If "Filter in Concord" is checked, this .dll will append all concordance lines found in plain text to a file called Concord_user_dll_concordance_lines.txt in your \wsmith7 folder, if there is space on the hard disk.
|
|

See also : menu and button options.